Mission walkthrough (Worms Armageddon)
From Worms Knowledge Base
Disclaimer: The following textual, video and replay guides are by far not the only ways of beating W:A's trainings and missions. They are only meant to help you out when you're out of ideas.
You can also see the training guide and missions guide from Team17.
| |
This article has a to-do list: |
|
Contents
- 1 Training Exercises
- 2 Mission 1 - Pumpkin Problems
- 3 Mission 2 - Operation Market Garden
- 4 Mission 3 - All Quiet in the Library
- 5 Mission 4 - Cool as Ice
- 6 Mission 5 - Do the Locomotion
- 7 Mission 6 - Sand in Your Eye
- 8 Mission 7 - Not Mushroom Out There...
- 9 Mission 8 - Big Shot
- 10 Mission 9 - Water Surprise
- 11 Mission 10 - Jurassic Worm
- 12 Mission 11 - Chemical Warfare
- 13 Mission 12 - No Substitute
- 14 Mission 13 - Who left the flood-gates open?
- 15 Mission 14 - Super Sheep to the Rescue!
- 16 Mission 15 - Hot Stuff
- 17 Mission 16 - Trouble on Mount Wormore
- 18 Mission 17 - Chateau Assassin
- 19 Mission 18 - Rescue Agent Dennis
- 20 Mission 19 - Horny Nuke
- 21 Mission 20 - Rumble in the Farmyard
- 22 Mission 21 - Wooden Ambush
- 23 Mission 22 - Go Bananas
- 24 Mission 23 - The Drop Zone
- 25 Mission 24 - Countdown to Armageddon
- 26 Mission 25 - Mars Star
- 27 Mission 26 - Mad Cows
- 28 Mission 27 - Bazooka on the Rocks
- 29 Mission 28 - Stolen Goods
- 30 Mission 29 - Sinking Icecap
- 31 Mission 30 - Aim Long, Aim True
- 32 Mission 31 - Goody Two-Shoes
- 33 Mission 32 - Trouble in the Toy Store
- 34 Mission 33 - Spectral Recovery
- 35 Notes
- 36 See also
Training Exercises
 Bronze Medal
To start the missions you need to complete the Bronze training, which includes the following skills tests
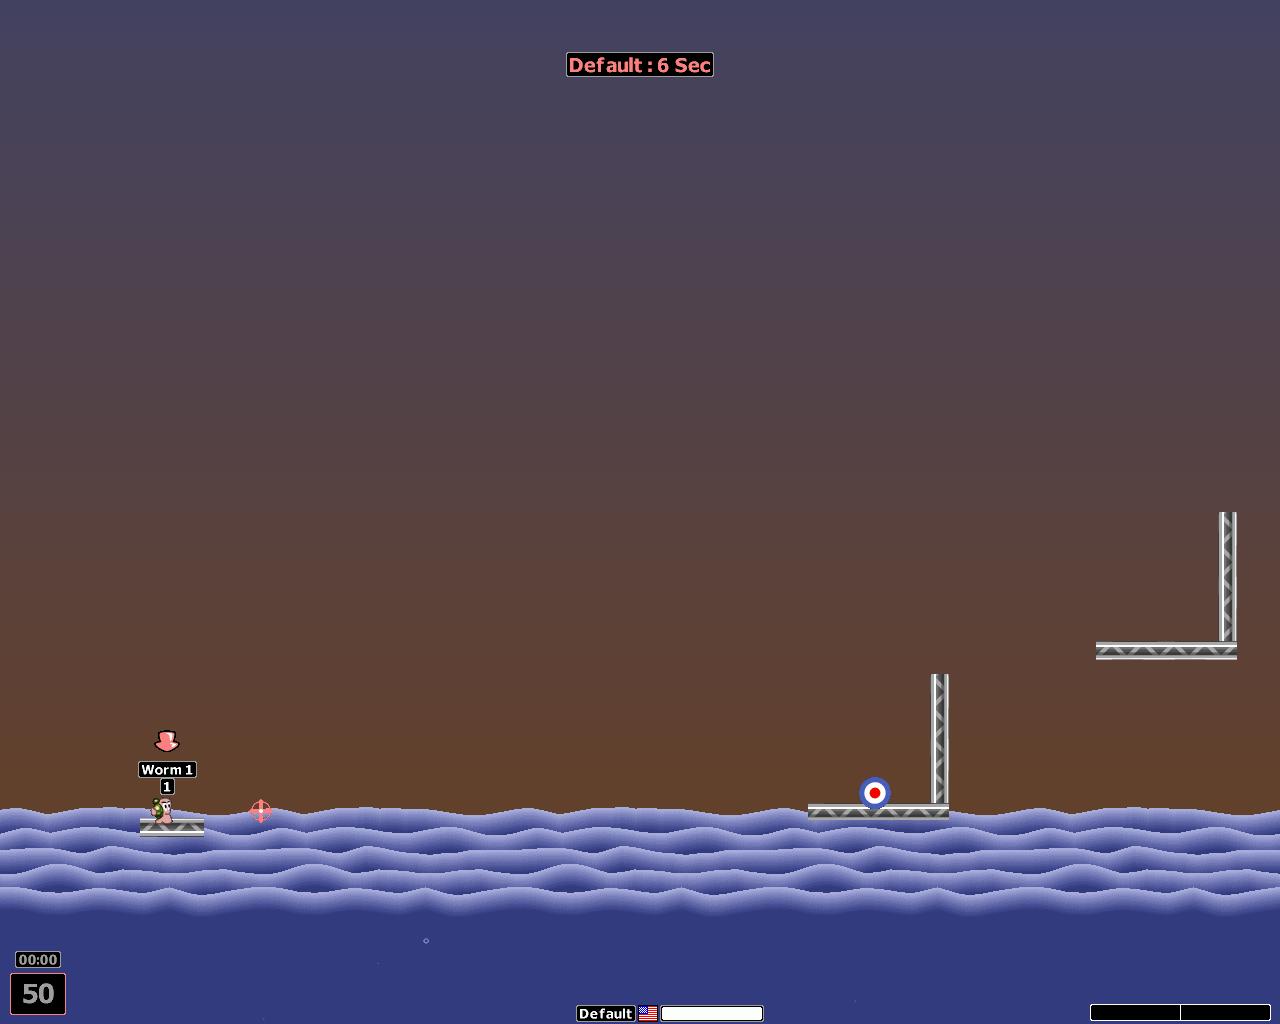
Grenade Skills Grade 1
- This exercise requires fuse settings to be used to the fullest.
- With whatever the angle of the throw may be just for the 1st ramp target keep fuse setting to one with minimum bounce with a fuse settings of 1-2.
- For the second ramp with a decent angle and power keep the fuse settings to 2-3 depending on the throw.
Shotgun Skills
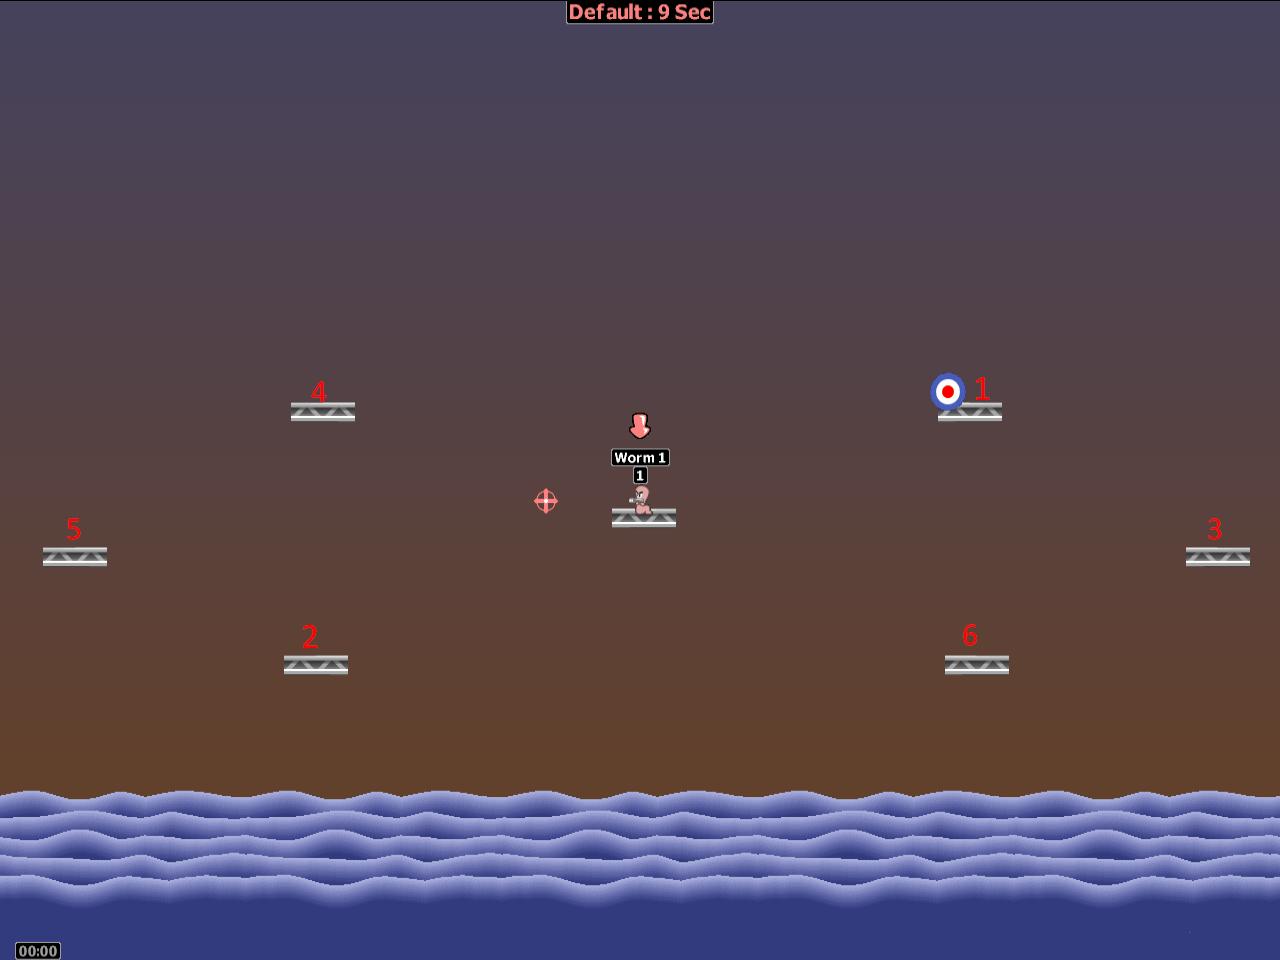
- This exercise is based on accurate use of shotgun.
- The targets appear in a specific order as shown in the image.
- Shoot the targets as they come, the 4th target requires two shots, one to reduce the ramp.
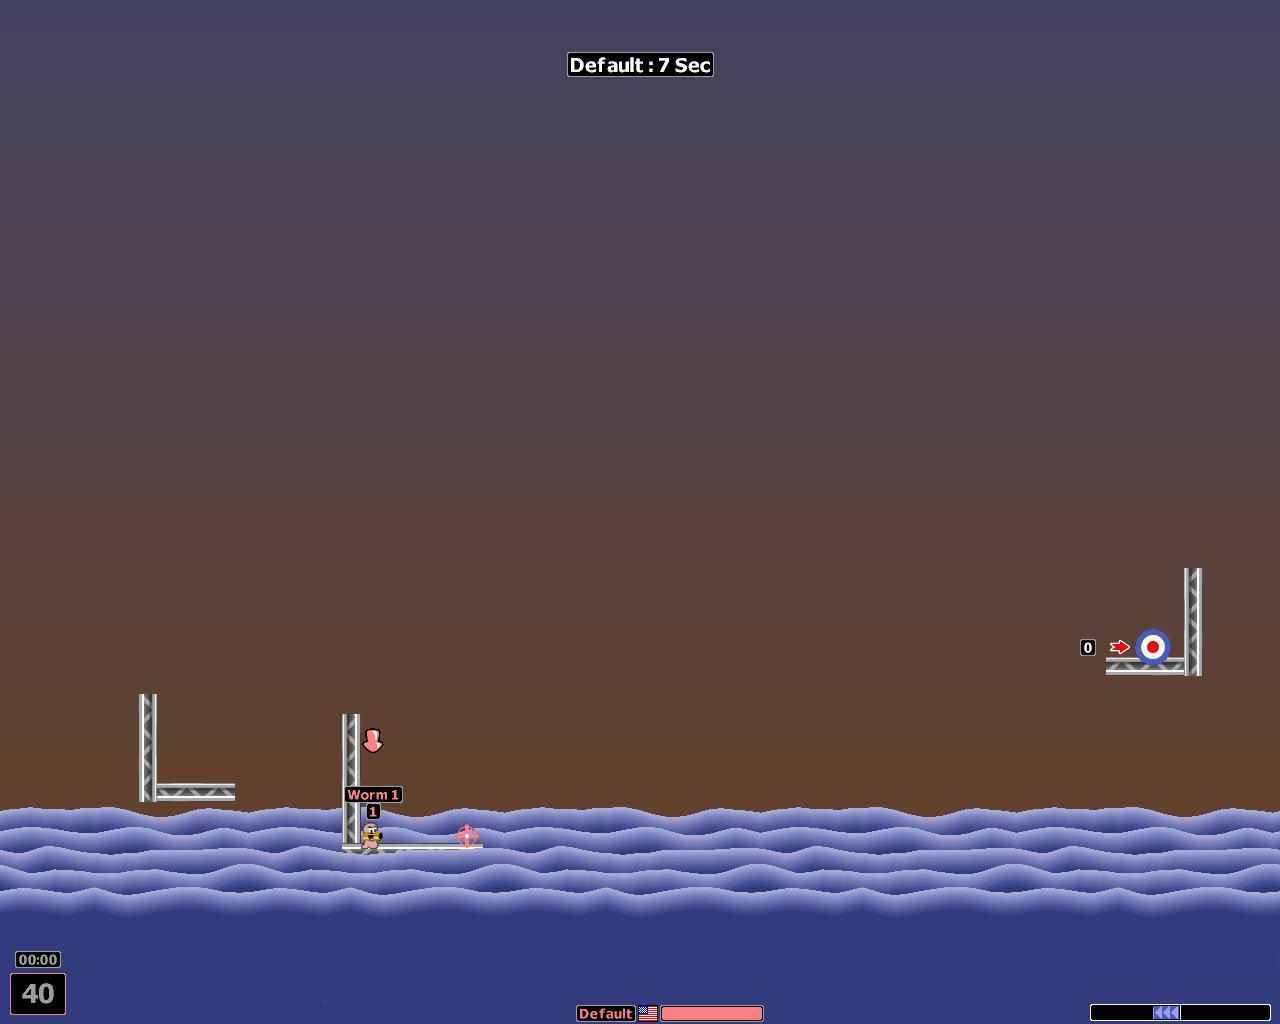
Bazooka Skills Grade 1
- This exercise requires a lot of practice with the bazooka with respect to wind.
- There are two targets 1st one on right 2nd one on left.
- For the 1st one use a steep angel with high power and second use a wide angle with low power, while shooting the second one take caution cause it may hit you.
 Silver Medal
To access to mission 13 (Who left the flood-gates open) and above you need to complete the Silver Medal training.
 Gold Medal
To access to mission 24 (Countdown to Armageddon) and above you need to complete the Gold Medal training.
Mission 1 - Pumpkin Problems

| |
W:A replay: Commented gold medal walkthrough of Mission 1 |
| Download · Info |
- Walk to the right edge of the pumpkin that you start on and fire a ninja rope just below the oil drum. Retract the rope and try to bounce the rope off of the floor until you gain enough speed to move yourself over the oil drum so you can collect the crate containing the Baseball Bat. Walk behind the artillery worm next to you and aim your baseball bat horizontally and fire. The worm will fall into the three mines below, opening a hole down to the vital crate.
- Walk to the crate and collect it.
Mission 2 - Operation Market Garden
Use girders to get your worms into positions where they can shoot straight at the enemy, then just go for it.
Sources: Yoda's Pagedlh.net
Note: the name of this mission is the name of a military operation during the Second World War (see References to other midia).
Mission 3 - All Quiet in the Library
Chances are you're going to be nuked in this level - you're unlikely to finish it before then. However, that in itself shouldn't be a problem. As suggested, try to get your worms away from the edge before the earthquake (which comes one go after the nuke). If you can (and you don't think the enemy will grab them), leave a health crate or two lying around so you can heal yourself after the nuke strikes.
So long as you're not stupid (ie don't leave worms right near the edge of the landscape, or clustered together), this level should be reasonably easy.
Sources: Yoda's Pagedlh.net
Mission 4 - Cool as Ice
| |
W:A replay: Commented gold medal walkthrough of Mission 4 |
| Download · Info |
- Use a Jet Pack to collect the two right-most weapon crates, which contain a Longbow and a Dynamite. Fly back to the polar bear and drop the dynamite to open a hole to reach the enemy.
- Use a Parachute to glide down to the enemy (or your second Jet Pack if you still have it), and use the Longbow to knock the enemy into the water.
![]() Beating this mission will unlock the Fast Walk utility, so you can edit its ammo and delay settings while editing schemes.
Beating this mission will unlock the Fast Walk utility, so you can edit its ammo and delay settings while editing schemes.
Mission 5 - Do the Locomotion

| |
W:A replay: Commented gold medal walkthrough of Mission 5 |
| Download · Info |
- Climb up to the tree and firepunch the enemy into the water.
- Blowtorch through the tree, and collect the crate (it contains a girder).
- Place the girder so that you can use it as a ladder to climb to the top of the train.
- Trigger the mine then quickly jump away to avoid harm. The climb down the other side of the train, using the bungee where necessary, and collect the utility crate (it contains a jetpack). Use it to collect the weapons crate on the far right of the map.
Mission 6 - Sand in Your Eye
| |
W:A replay: Commented gold medal walkthrough of Mission 6 |
| Download · Info |
This one's pretty easy, really... just get to the top of the pyramid with one of your worms fairly early on, and keep plugging away... Don't forget that you have worm select on this round - it can make all the difference! (For instance, the first go is best taken with the worm on the right, on the tree.)
Sources: Yoda's Pagedlh.net
Mission 7 - Not Mushroom Out There...
| |
W:A replay: Commented gold medal walkthrough of Mission 7 |
| Download · Info |
- Attach the ninja rope to the very edge of the mushroom, and swing your worm over on top of the mushroom. This may take a bit of practice. If you are struggling, you can build up extra speed by retracting the rope by holding up. Collect the crate, and use the Girder Starter Pack to build a walkway over the minefield. Stay on the first mushroom, so that Sentry can't shoot you.
- Use the walkway to collect the crate just to the right of the minefield, then teleport to the flashing crate on the far right.
Mission 8 - Big Shot
Note: The briefing text indicates that the mission involves one Worm with an unlimited supply of shotgun bullets is incorrect. The actual ordnance for the mission is:
- 3× Handgun, 2× Uzi, 2× Longbow, 3× Girder, Unlimited Blowtorch.[1]
Firstly, ignore the briefing - you don't have an unlimited supply of shotgun ammo. In fact, you don't have a shotgun at all. You do have an infinite blowtorch, however.
There are no hard-and-fast rules for doing this one - you have to play it by ear. However, here are a few guidelines:
- On your first go, you can set off the nearby mine with the ninja rope without doing yourself any damage. This should hurt Guard a little. Similarly, you can clear the mine on the far left, as the ninja rope has infinite repeat swings.
- Although the enemy can select which worm they use, they can only select amongst one team - this sometimes means you can stand right by one worm, knowing that it can't take the next turn.
- Cannon Fodder (the team with the worms called Sentry) has the first enemy go.
- If a team can't attack you, it may well have a go at the other team. They can do a fair bit of damage to each other while you're busy collecting the crates on the far left.
- Blowtorches can do reasonable damage - I did 45 damage in one turn in this level.
- You have some girders - use them!
- An old woman launched from the top of the highest leaf can easily kill the worm on the mushroom.
- Sudden death can be a pain in the neck or a blessing... just bear it in mind as it comes quite quickly.
Sources: Yoda's Page dlh.net
Mission 9 - Water Surprise

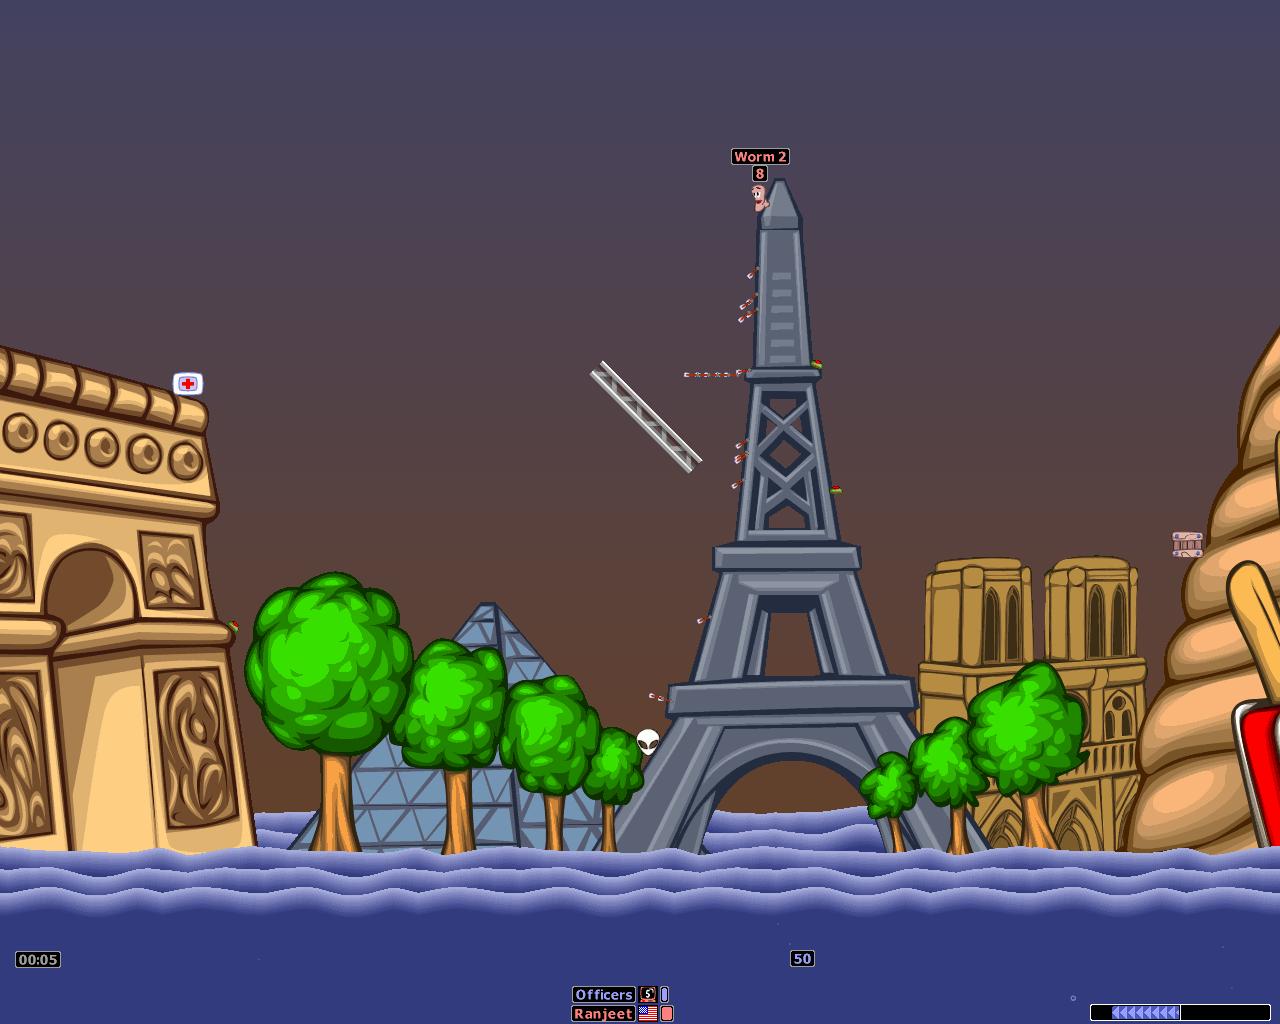
- Stand on your other worm's head and fire the first arrow to the right, horizontally. Fire your second arrow at the highest mine. The best way to ensure a hit is to use the greatest possible firing angle and adjust the position of your worm until you get it right. The mine will bounce off and land at the bottom of the Eiffel Tower. You will need to retreat to the right a little bit to avoid triggering the mine.
- Without moving your worm, fire an arrow upwards with the maximum angle. Use your second arrow to shoot the remaining mine. The best way to ensure hitting it is to position your worm at the bottom of the pyramid's slope, and fire an arrow up with maximum angle. The mine will hit you, but this is unavoidable.
- Move to the bottom of the pyramid's slope and fire both arrows upwards with maximum angle.
- Climb the tower using backflips, then place a long girder so that you can reach the crate.
- Collect the crate and use the aquasheep to kill General. The aquasheep can be flown underwater.
An alternate strategy which is self explanatory:
Mission 10 - Jurassic Worm

| |
W:A replay: Commented gold medal walkthrough of Mission 10 |
| Download · Info |
- Use your Ninja rope to collect the crate containing Mole Bombs on top of the dinosaur's head. Release a mole bomb to the right, and make it start digging when it walks over the first mine.
- Use another Ninja rope to get your next worm on top of the dinosaur, and set off the first mine. This should knock another mine down the hole and into the enemy worm. If it gets stuck inside the tunnel, you can use an Uzi to knock it down the tunnel, or otherwise use your remaining worms to kill the opponent worm.
Mission 11 - Chemical Warfare
This level is fairly straightforward when you get the hang of it. You should poison all the worms you can't reach (as the landscape's indestructible) as soon as you have the skunk. (Until then, use any infinite weapons you have such as the firepunch and uzi to do damage. The worm in the bottom right corner is ripe for a kicking as soon as possible.)
When the poisoned worms have lost all but one point of energy each, start using the shotgun on them carefully. Following these rules, you should have no problems, although it's worth getting under cover, as the enemy will be using plenty of airstrikes.
Sources: Yoda's Pagedlh.net
Mission 12 - No Substitute
Mission 13 - Who left the flood-gates open?
| |
W:A replay: Commented gold medal walkthrough of Mission 13 |
| Download · Info |
- Use a Worm Select to select your second worm and place a girder to get on to the central green platform. It is best to end the turn under cover so you do not get shot.
- Backflip onto the silver mechanical arm above you and walk towards the mine, then girder over it so you can collect the weapons crate.
- Bazooka the worm on the blue wire above you to knock him down from his high spot.
- Ninja rope up to the blue wire, stand in a safe location and then place a girder directly above the leftmost worm so that he cannot attack you directly.
- Use your blowtorch to dig upwards as close to the roof as possible.
- Skip your remaining turns and the enemy worms will all drown. If a worm teleports up to your safe haven, use the minigun or longbow to knock him away.
Mission 14 - Super Sheep to the Rescue!
Easier said than done. This mission really relies on Super Sheep skills.
You have to collect the crate at the opposite of the map using a Super Sheep. The crate contains a Fire Punch, which has to be used in order to kill the enemy.
Not going for gold will give you closer and thus easier crates to collect.
Mission 15 - Hot Stuff
| |
W:A replay: Commented gold medal walkthrough of Mission 15 |
| Download · Info |
300 HP worms may sound hard to kill at first, but they're actually easy to sink:
- First, focus on piling the two worms at the bottom the map. Use a shotgun for that: the first shot has to push the worm on the red wire onto the mine, which will then push him next to his teammate. The second shot will then push both worms onto another mine next to a utility crate. If everything is done correctly, drowning them should be easy.
- Then, on the second turn, kill these worms using either a Dynamite or a Holy Hand Grenade.
- Finally, use your Ninja Rope to go near the remaining enemy and drop a Dynamite or a Holy Hand Grenade (depending on what you've used on the previous turn) on the right of that enemy's head.
Mission 16 - Trouble on Mount Wormore
Mission 17 - Chateau Assassin
Mission 18 - Rescue Agent Dennis

| |
W:A replay: Commented gold medal walkthrough of Mission 18 |
| Download · Info |
It is not easy to have everything working as intended, but if there are any survivors, just kill them afterwards (except the General, which you should kill as soon as possible because he plays very often).
- First go, hide in the E (in the small tunnel between the two top bars, in order to reach it: go below Assassin, walk backwards until the worm blocks you and jump) and kill the worms on the M using a Napalm Strike.
- Then, kill the Assassin using a Longbow; this may kill the previous attack's survivor(s), if there are any. Use your second shot to push the Field Soldier so it is closer to the barrel. Retreat in a way the General will have to get close to the A - you'll need that A as a wall for the Minigun to work.
- Go down and kill the General using a Minigun. Retreat left in the E as far as possible. (Don't climb on the A like I did in the replay, as this messes up the leftmost pile.)
- Kill the rightmost worm (Field Soldier) using a Homing Missile.
- Kill the two leftmost worms using a Banana Bomb: in order to do that, use the Ninja Rope so you can go to a place where you think you can fire the Banana easily.
See also:
Mission 19 - Horny Nuke
| |
W:A replay: Commented gold medal walkthrough of Mission 19 |
| Download · Info |
The following walkthrough is absolutely fool proof but also boring to perform.
- Collect the two crates closest to you, which contain 2 ninja ropes and 2 blowtroches. Use a single ninja rope to collect the leftmost crate, ignoring all other crates along the way. This crate contains a Pnumatic drill, which you can use this turn to collect the flashing crate.
- Fire your second ninja rope straight up to escape this pit, and then use it to get on to the red tentacle above. Fire an uzi to knock the two top-most enemy worms off of the red and green tentacles.
- Jump onto the brown stalagtite and blowtorch up towards the roof of the map.
- Launch the Nuclear Test for fun.
- Go and make lunch because you will now win the map with no further keyboard input. Sudden death will eventually trigger and the all enemy worms will eventually drown.
Mission 20 - Rumble in the Farmyard
Mission 21 - Wooden Ambush
| |
W:A replay: Commented gold medal walkthrough of Mission 21 |
| Download · Info |
Mission 22 - Go Bananas

You don't have many turns to collect the crate; an Earthquake occurs a few turns after the mission starts.
First, ignore your first two worms and just play with the third one: don't forget to select it at the beginning of each turn. Then, well, focus on digging a way to the crate:
- Fire a Bazooka on the Sentry so you can walk to the next fruit; don't forget to fall down right after firing, during your retreat time.
- Then, open the way to the first banana by throwing a Grenade behind the Guard.
- Walk to the banana and use Blow Torch to dig through it; aim it upwards. Do not walk back to the beginning of your tunnel during the retreat time, otherwise CPU won't help you finishing digging.
- Remove the remaining tiny wall using a Bazooka. You're done with the digging job.
- Finally, walk to the right until the crate, paying attention to mines. Fall down with a bungee or a parachute in order to collect it.
| |
W:A replay: Commented gold medal walkthrough of Mission 22 |
| Download · Info |
Mission 23 - The Drop Zone
| |
W:A replay: Commented gold medal walkthrough of Mission 23 |
| Download · Info |
Mission 24 - Countdown to Armageddon
Mission 25 - Mars Star
Mission 26 - Mad Cows
Mission 27 - Bazooka on the Rocks
Mission 28 - Stolen Goods
Mission 29 - Sinking Icecap
Boring but easy. Just rope to the rightmost enemy, and then every turn until Sudden Death wait without doing anything. Warning however, when it's going to be the worm you're close to's turn, you have to freeze on the last second of the turn, so don't be in a continuous awayness! Turn order for CPU worms is Left -> Right.
On Sudden Death, you don't have to wait anymore, just to skip until it's guaranteed that all the 3 other worms will die within the next two turns. Once it's the case, just kill the enemy you're close to using a Blowtorch.
Mission 30 - Aim Long, Aim True

Mission 31 - Goody Two-Shoes
Mission 32 - Trouble in the Toy Store
Mission 33 - Spectral Recovery

| |
W:A replay: Commented gold medal walkthrough of Mission 33 |
| Download · Info |
Basically:
- The first worm digs to the left, using 3 Blow Torches and 1 or 2 Shotguns.
- The second worm digs to the weapon crate (which contains a girder), using 4 Blow Torches. In order to achieve that, you'll have to keep digging downwards, digging three times in total to the left and once to the right.
The second worm must have collected the crate after it finished using its 4th Blow Torch; otherwise, the mission has to be restarted. The first worm has to place a girder as far on the left as possible on its 5th turn, i.e. right after the "Almost here!" message appeared. If necessary, this worm will finish digging to the crate and then collect it on its 6th turn.
Notes
- ↑ This message is from WA v3.0 patch info file (patchinfo.rtf).


